Adafruit has put 8 WS2812 RGB LEDs on a PCB, calling it a NeoPixel Stick. It is a very convenient way to experiment with these LEDs since an Arduino library has been written taking the heavy lifting out of the serial interface.
While RGB LEDs are very cool, simply looking at them head on is not the best way to use them- they are pretty bright and there are more artful ways to apply them. One approach is to use them as the illumination source in backlighting optics. Backlighting optics are typically used behind LCD displays to provide a uniform illumination across the display from white LEDs edge-lighting a diffusing plate. The light travels inside the panel, trapped by total internal reflection, until it encounters a scattering mechanism that directs it out of the surface of the plate.
The following details a quick prototype using two NeoPixel Sticks.
Backlight Panel
A really crude optical diffusing plate was created from a 2.5″ x 5.5″ piece of 0.220″ clear acrylic. NeoPixel Sticks are 2″ long, so this width provided an area for mounting screws. Backlight panels use several methods to redirect the edge-launched light out of the plane of the panel. The method used here was to engrave lines into the back surface parallel to the edges with the LED strips. The “engraving” method was quite crude: various grades of sandpaper were used to place scratches parallel to the LED strips. A well-designed backlight attempts to vary the engraving pattern to take into account how the intensity of the light falls off from the source. This prototype may be well-intentioned, but it is not particularly well-designed. The center of the panel was sanded with 80-grit sandpaper while the areas nearer the LED strips were sanded with 60-grit and the areas adjacent to the LED strips used 150-grit sandpaper.
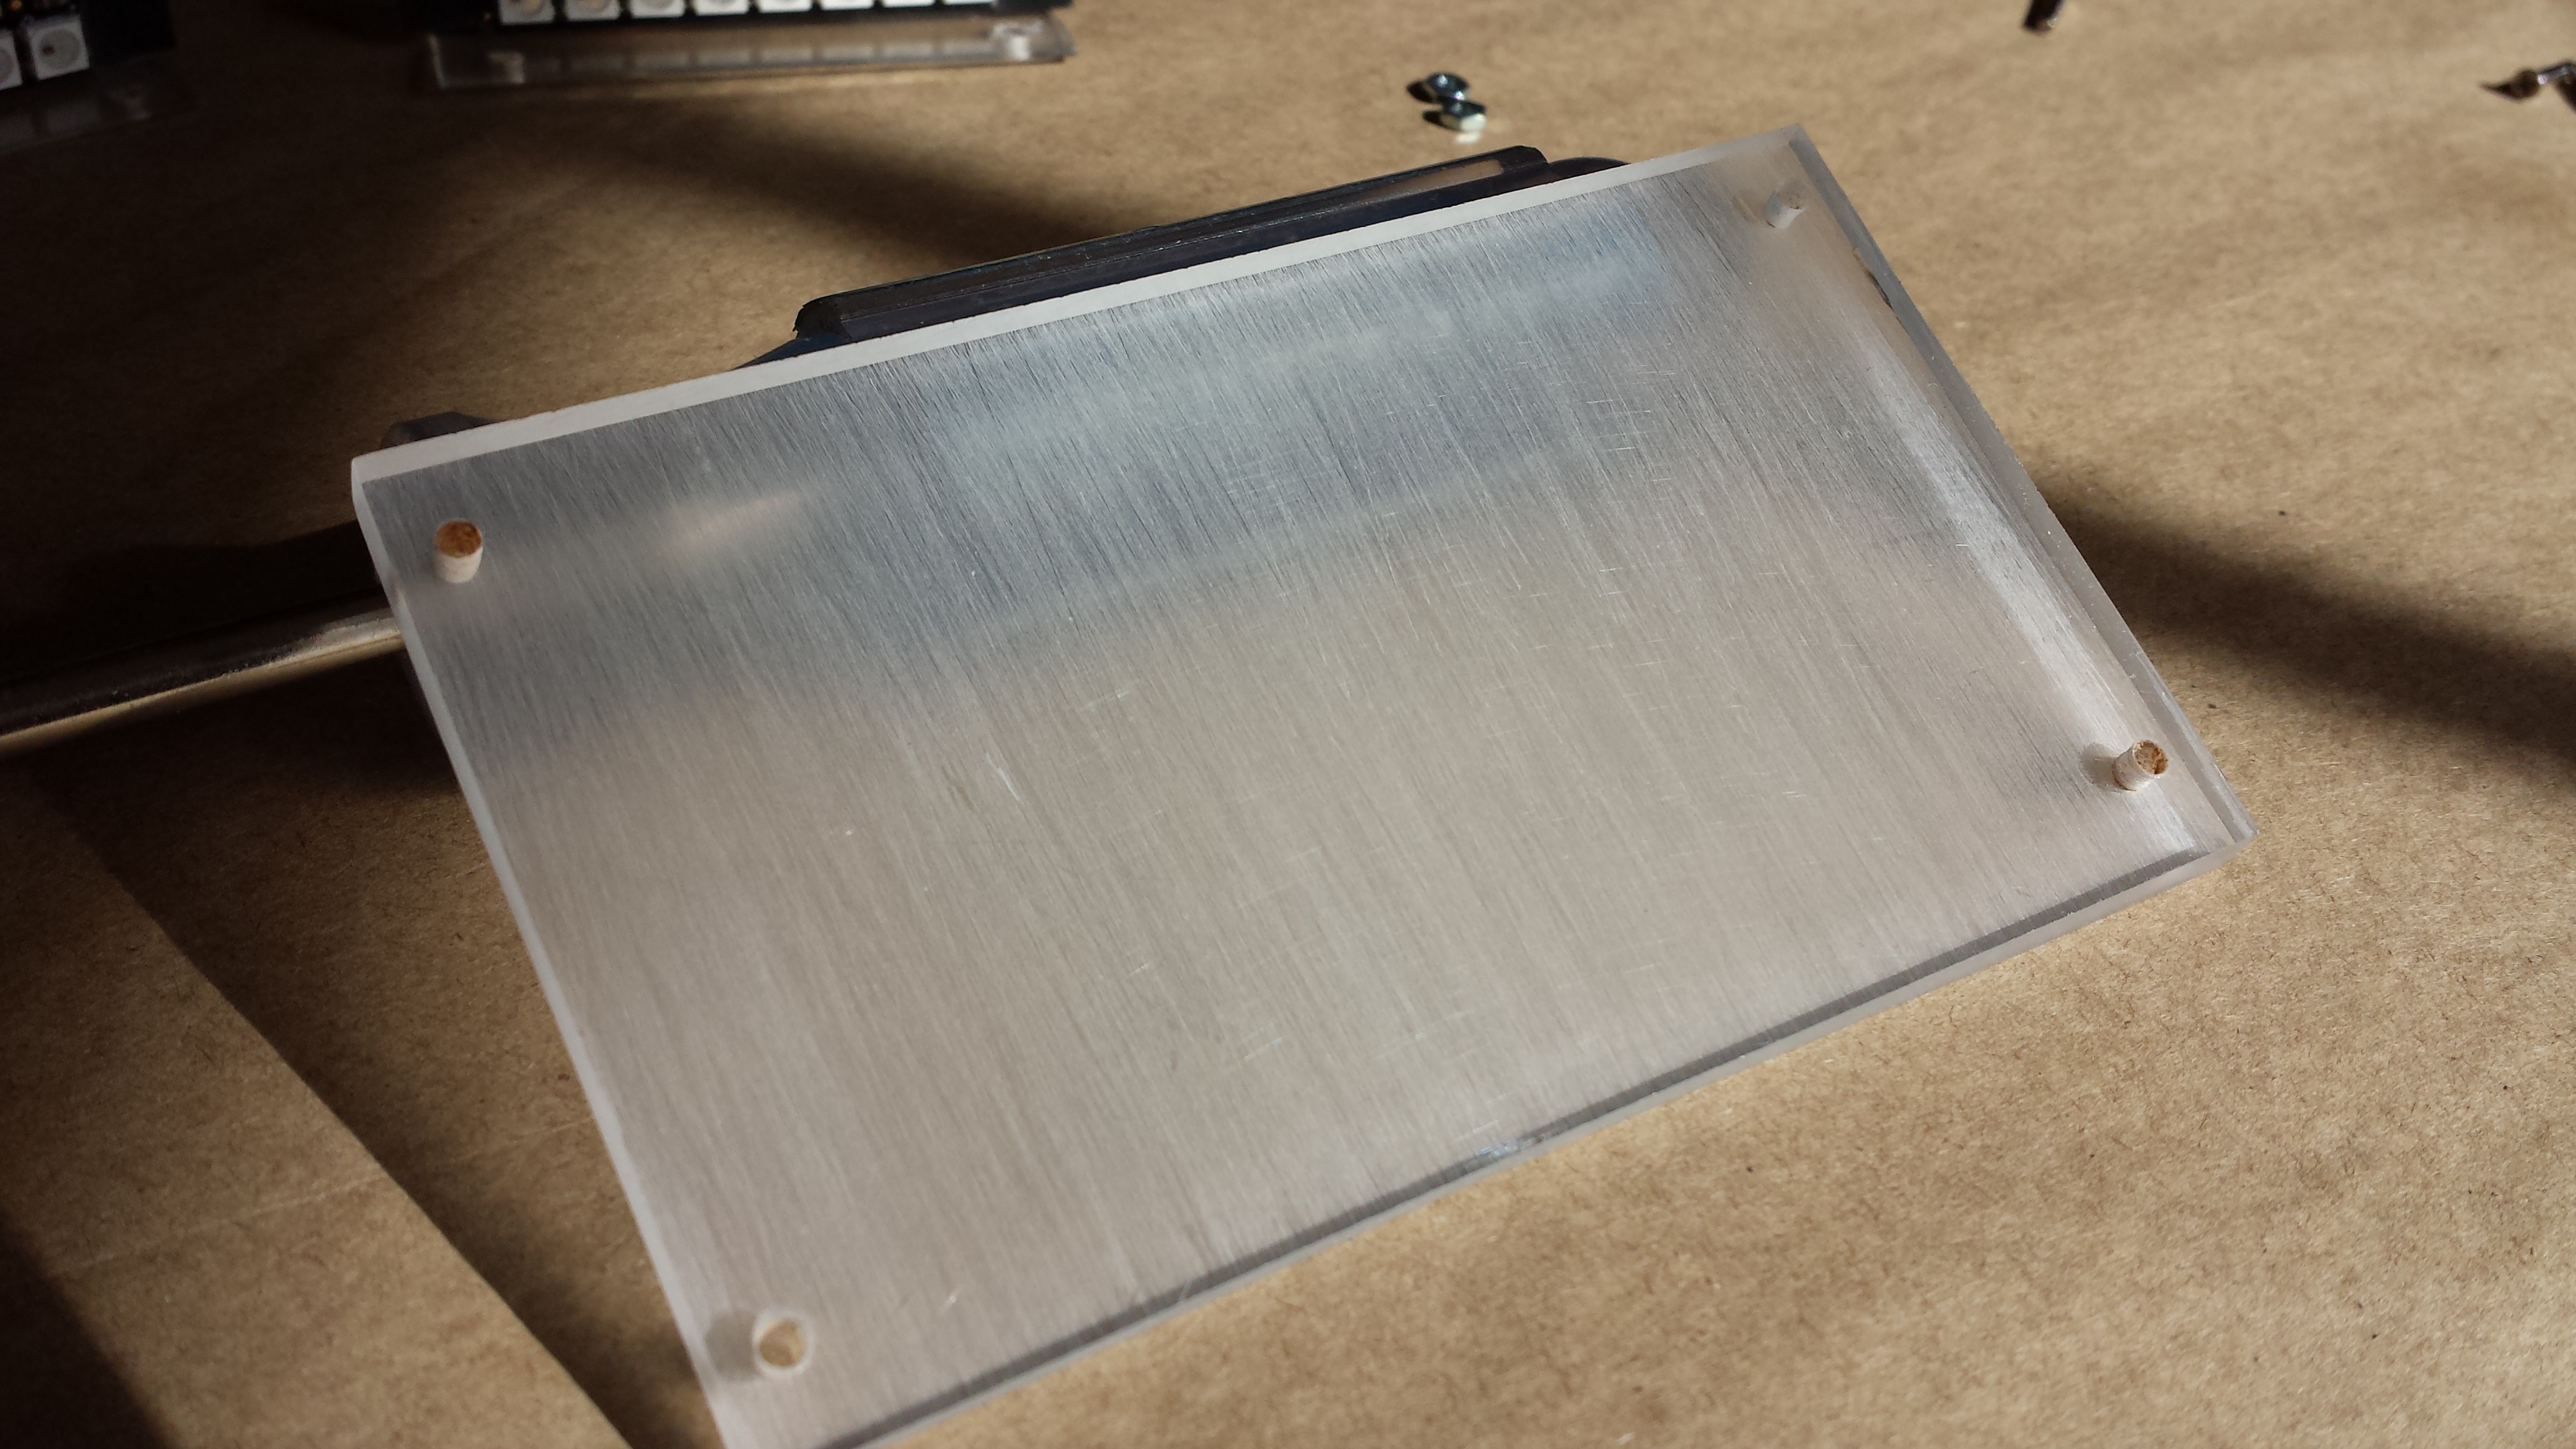
Backlights usually use a diffuser sheet above the panel. A piece of frosted plastic cut from a stencil sheet was used. A piece of 3″ x 5″ card was also used beneath the panel to scatter light that leaked out the back face.
Assembly
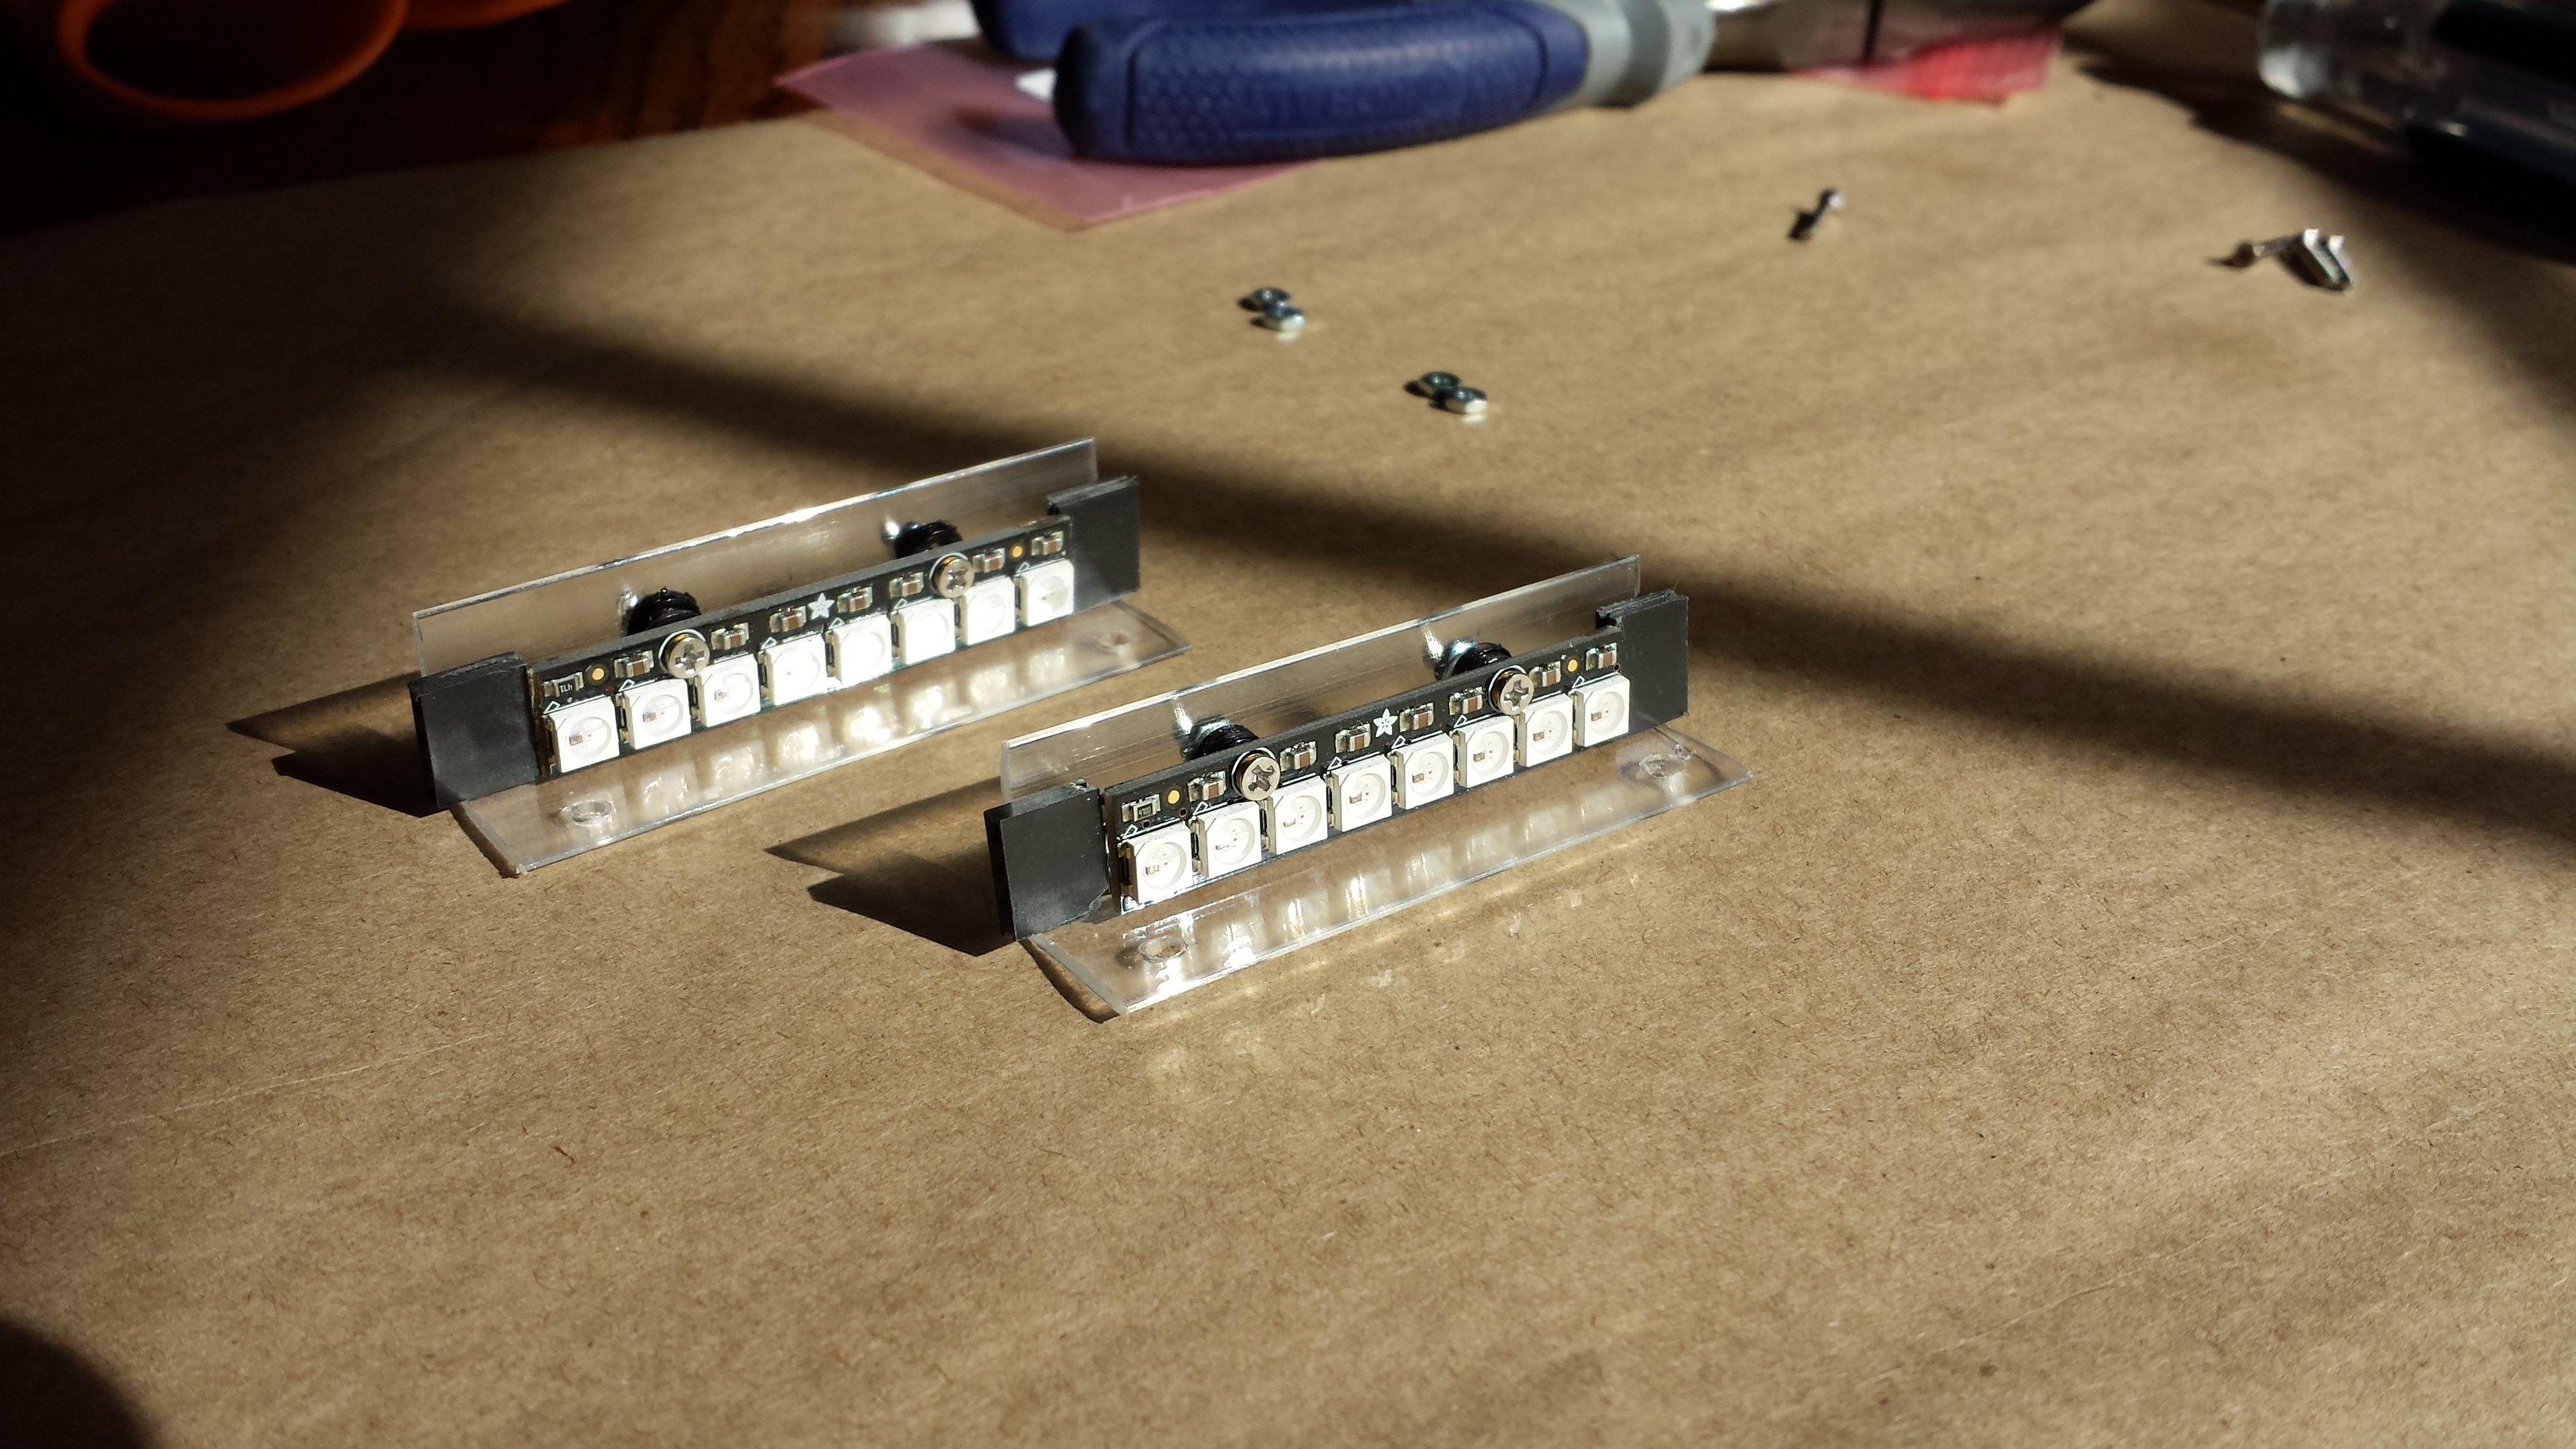
The NeoPixel Sticks were mounted on 0.5″ plastic L-brackets cut and drilled to size. The components are shown below:
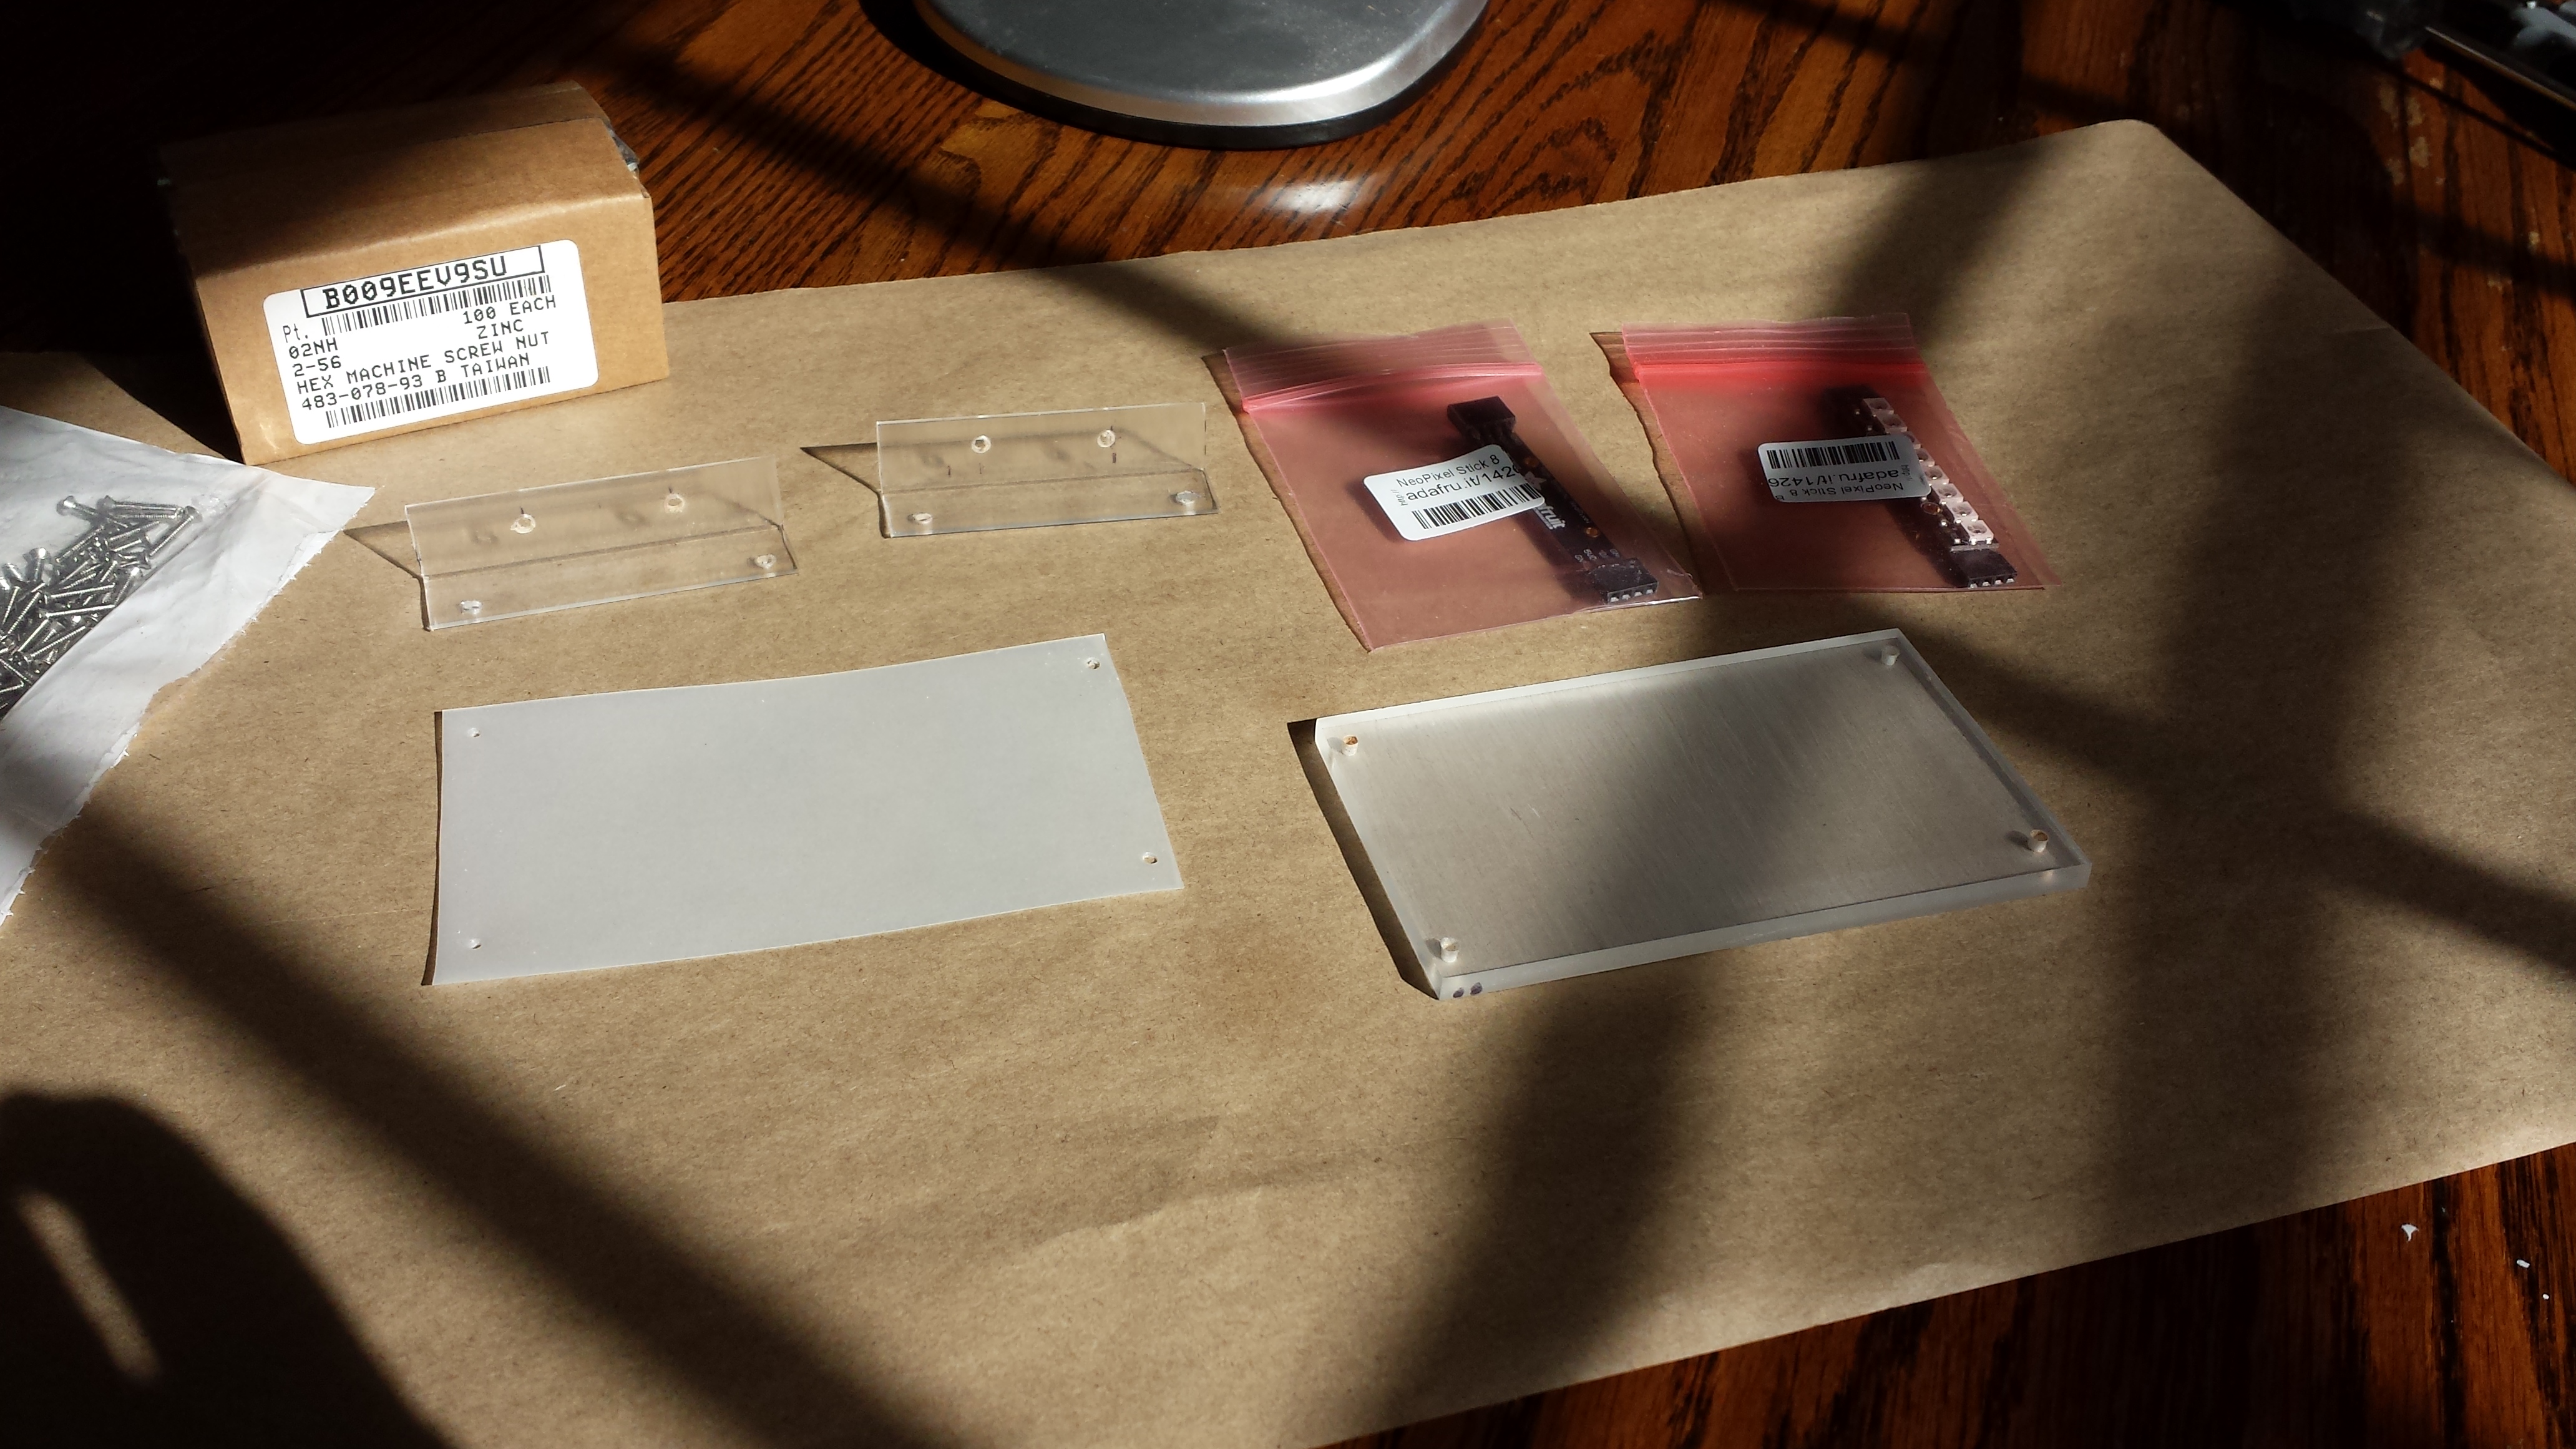
Four-pin headers were soldered to the NeoPixel Sticks to make it easy to use pre-made jumper cables to connect to an Arduino Uno. A couple of nylon washers were used on each 2-56 screw to provide a standoff creating clearance for the headers.
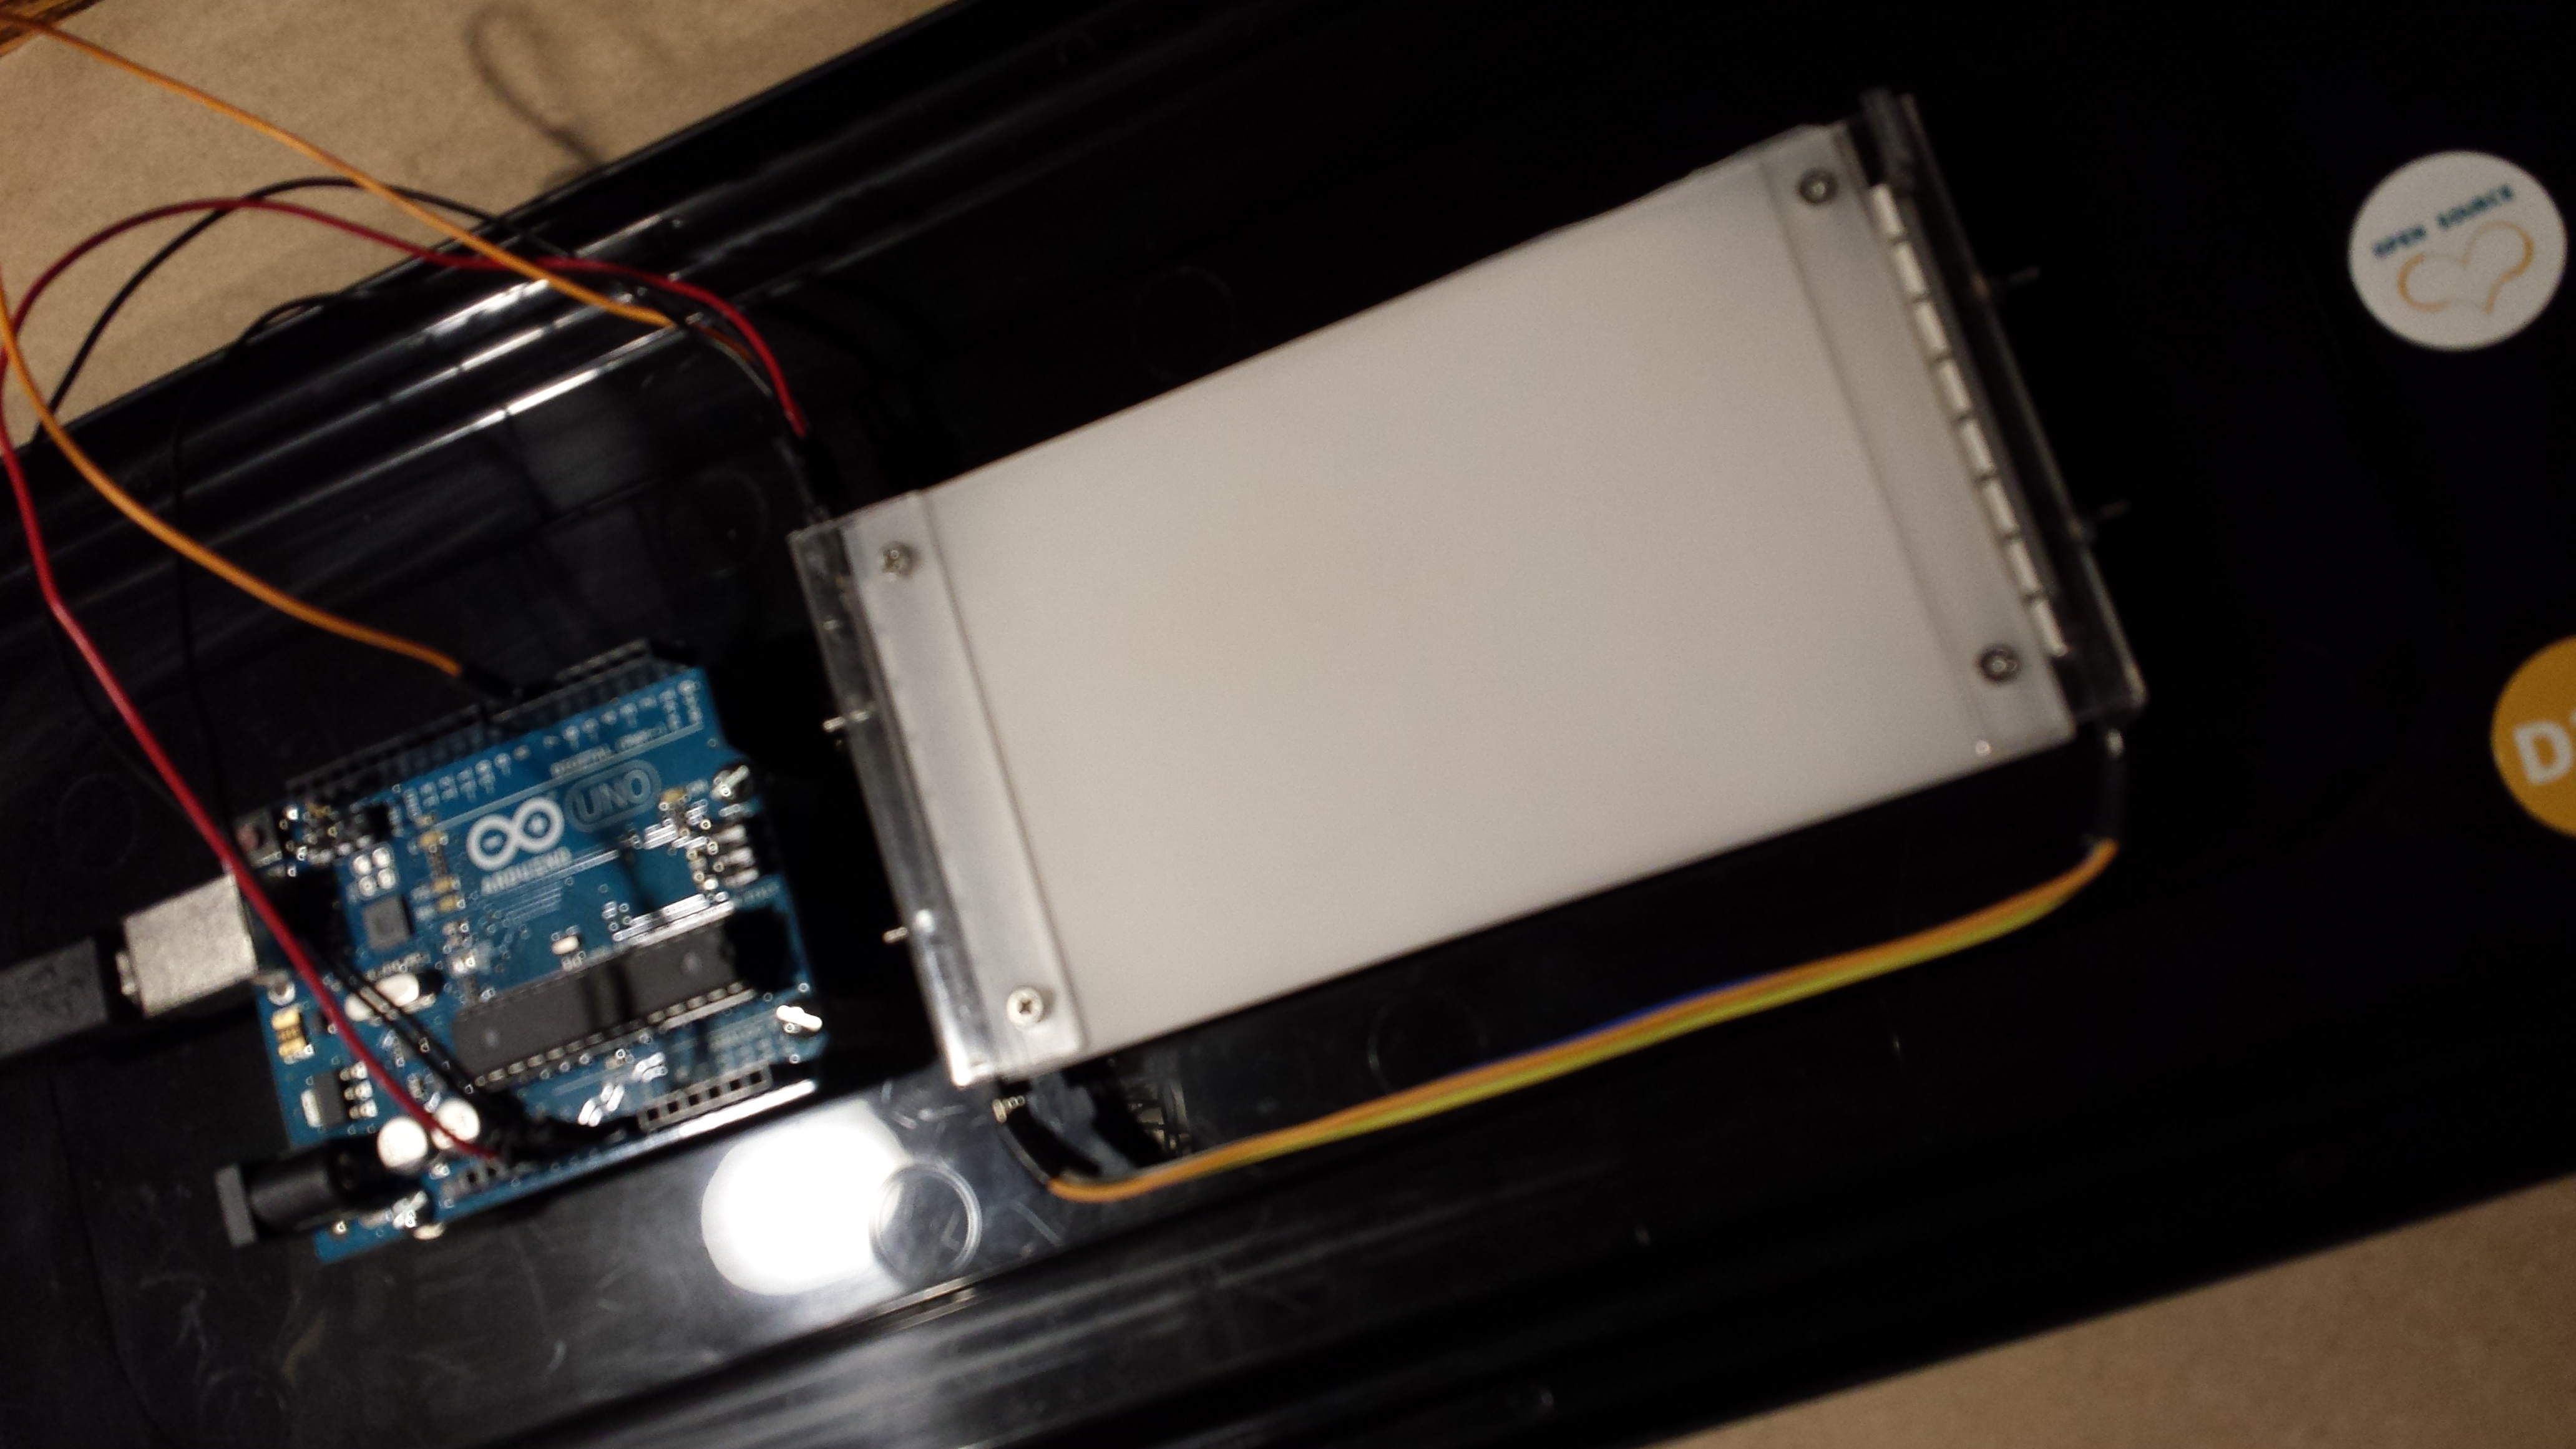
Here is a back view of the assembled panel (note: the light is from an external lamp, not the NeoPixels):
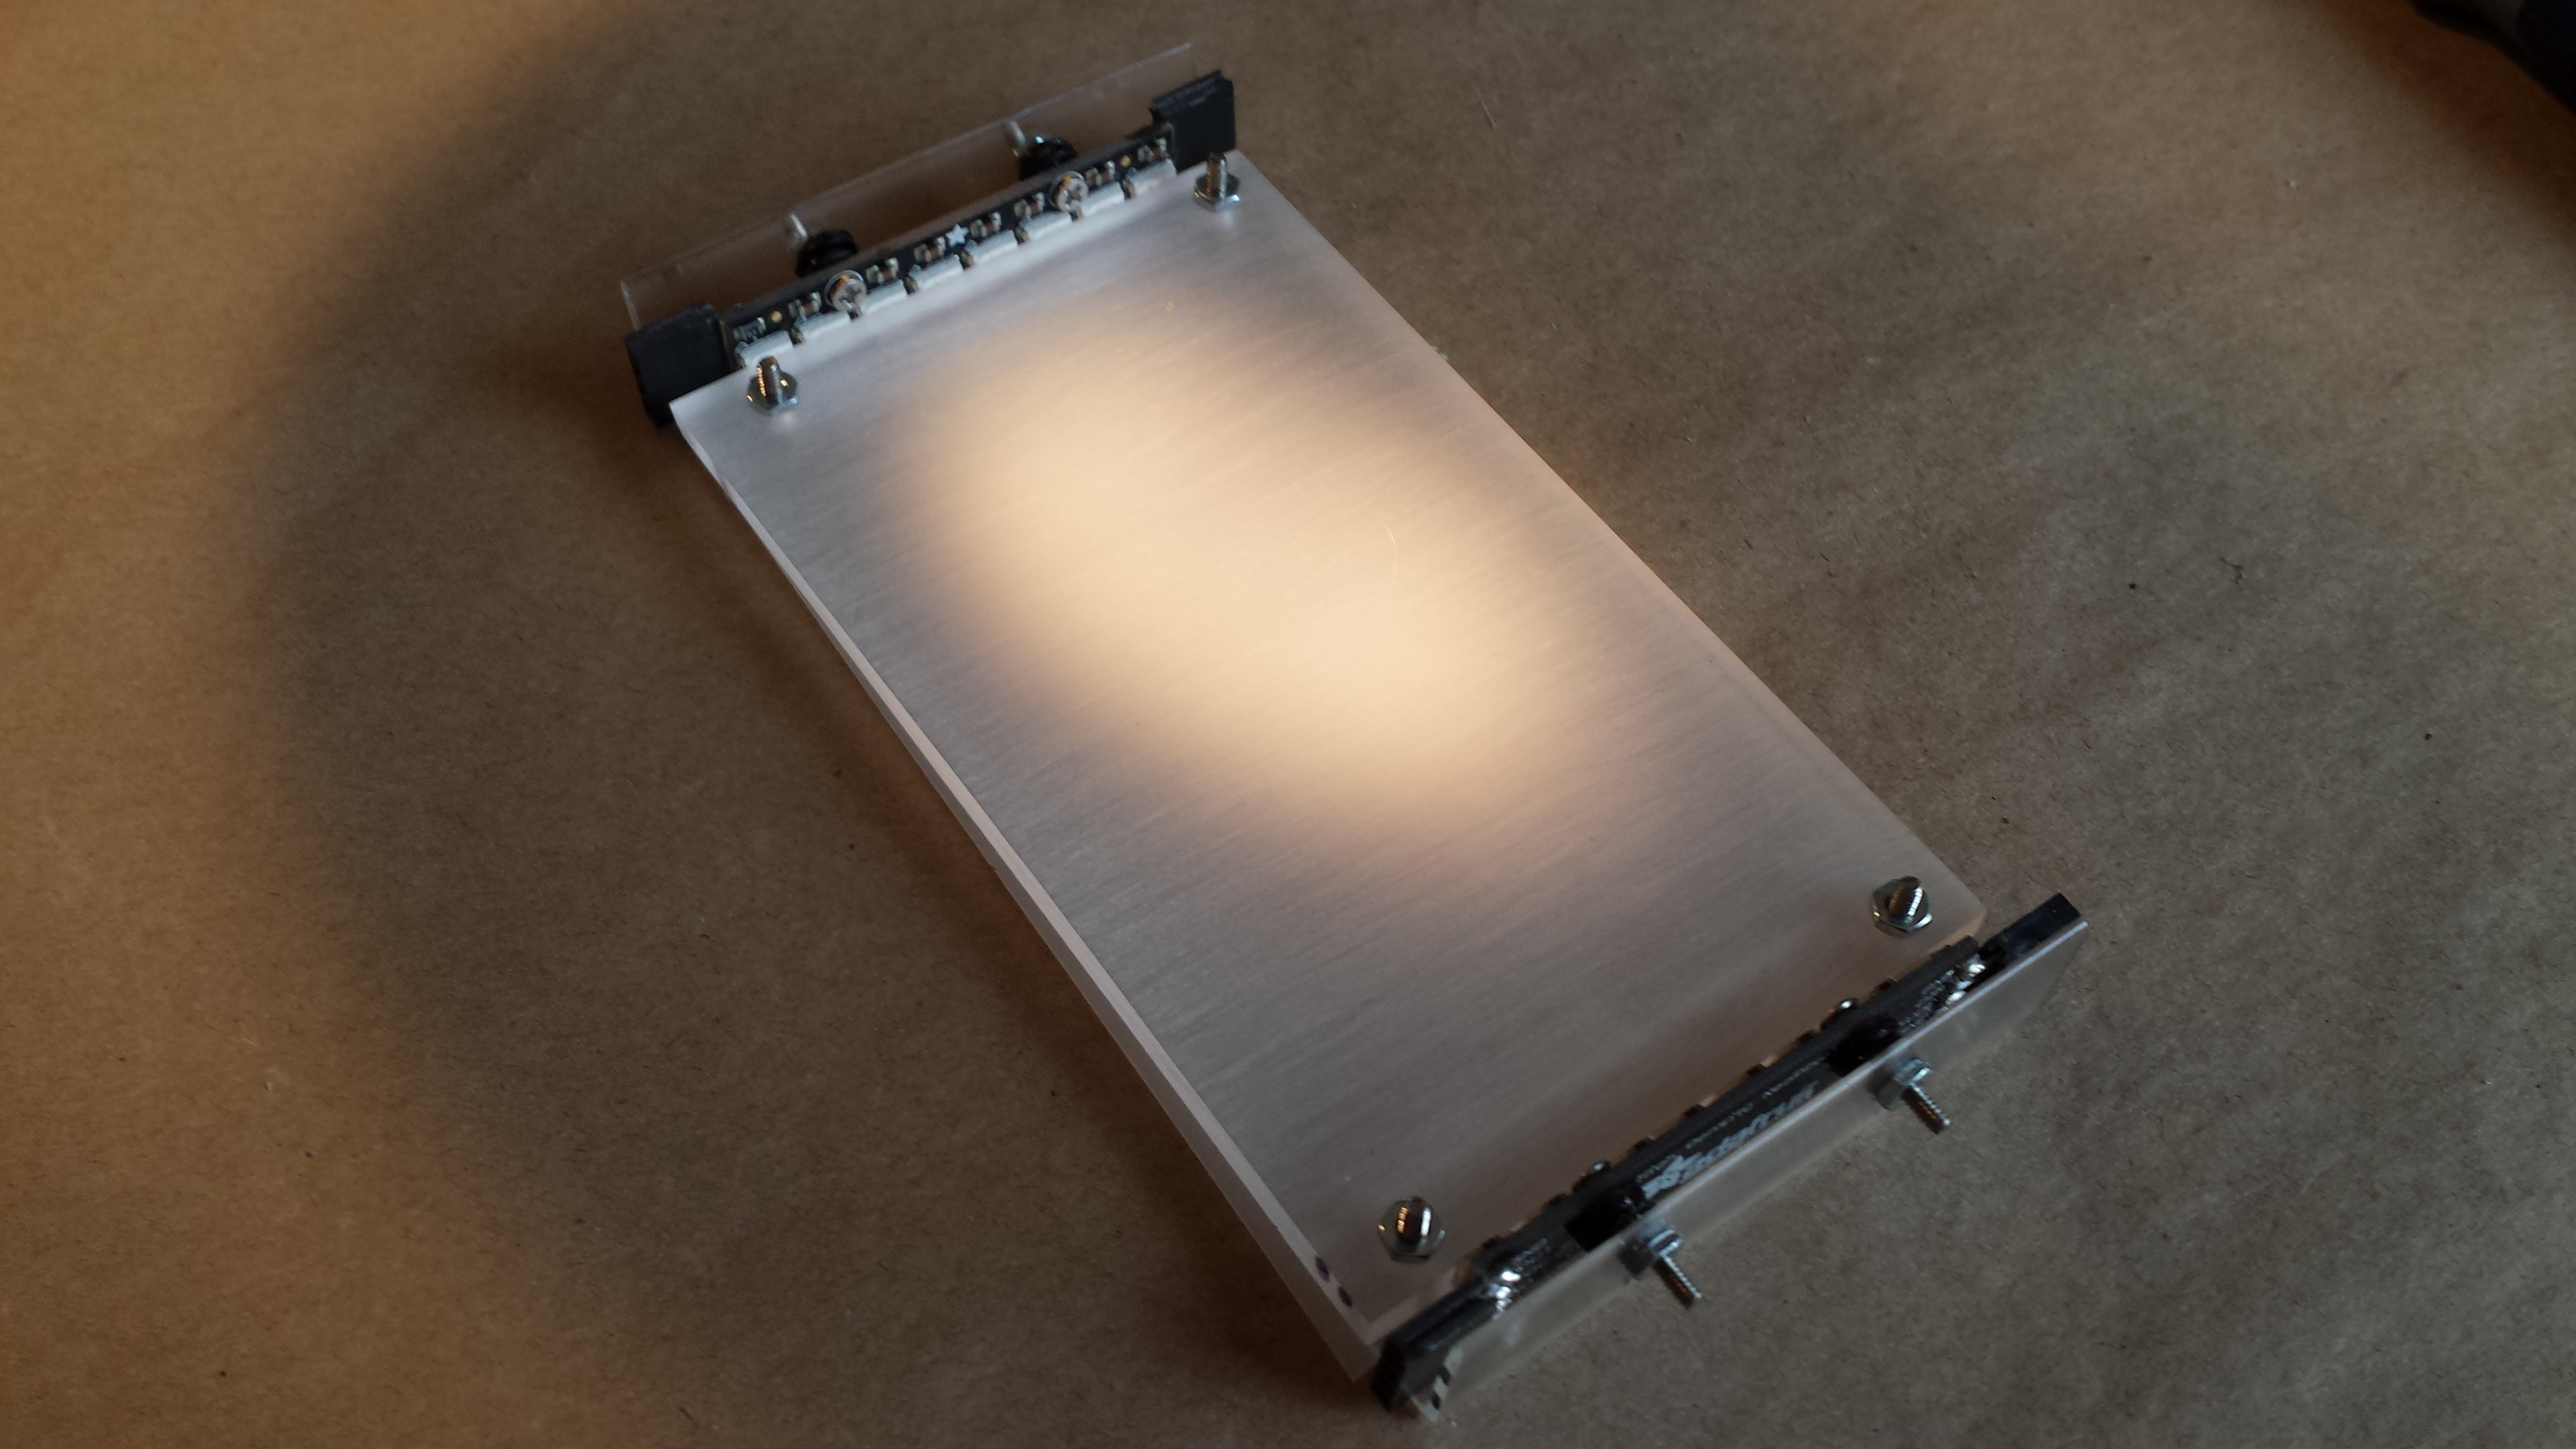
Here is the front view of the assembled panel (again with an external lamp lighting it):

Arduino Connections
Pin 6 on the Arduino was used to provide DataIn to the first NeoPixel Stick. Ground and +5V were provided with jumpers from the Arduino headers. Jumpers were used to connect DataOut from the first NeoPixel Stick to the DataIn of the second stick, along with power and ground.
The Adafruit NeoPixel Library provides a demonstration sketch (strandtest.ino) that was used without modification to drive the backlight to see if it worked, which it did. The code was then modified to explore several color effects and look at illumination intensity.
Backlight Test
Here are two examples of full intensity with all LEDs turned on. First in a white mode with RGB = (255,255,255):

Here is green mode with RGB = (0,255,0):

In operation, the LED strips will be hidden. The above show that the uniformity could use improvement. However, the results were rather pleasing!